|
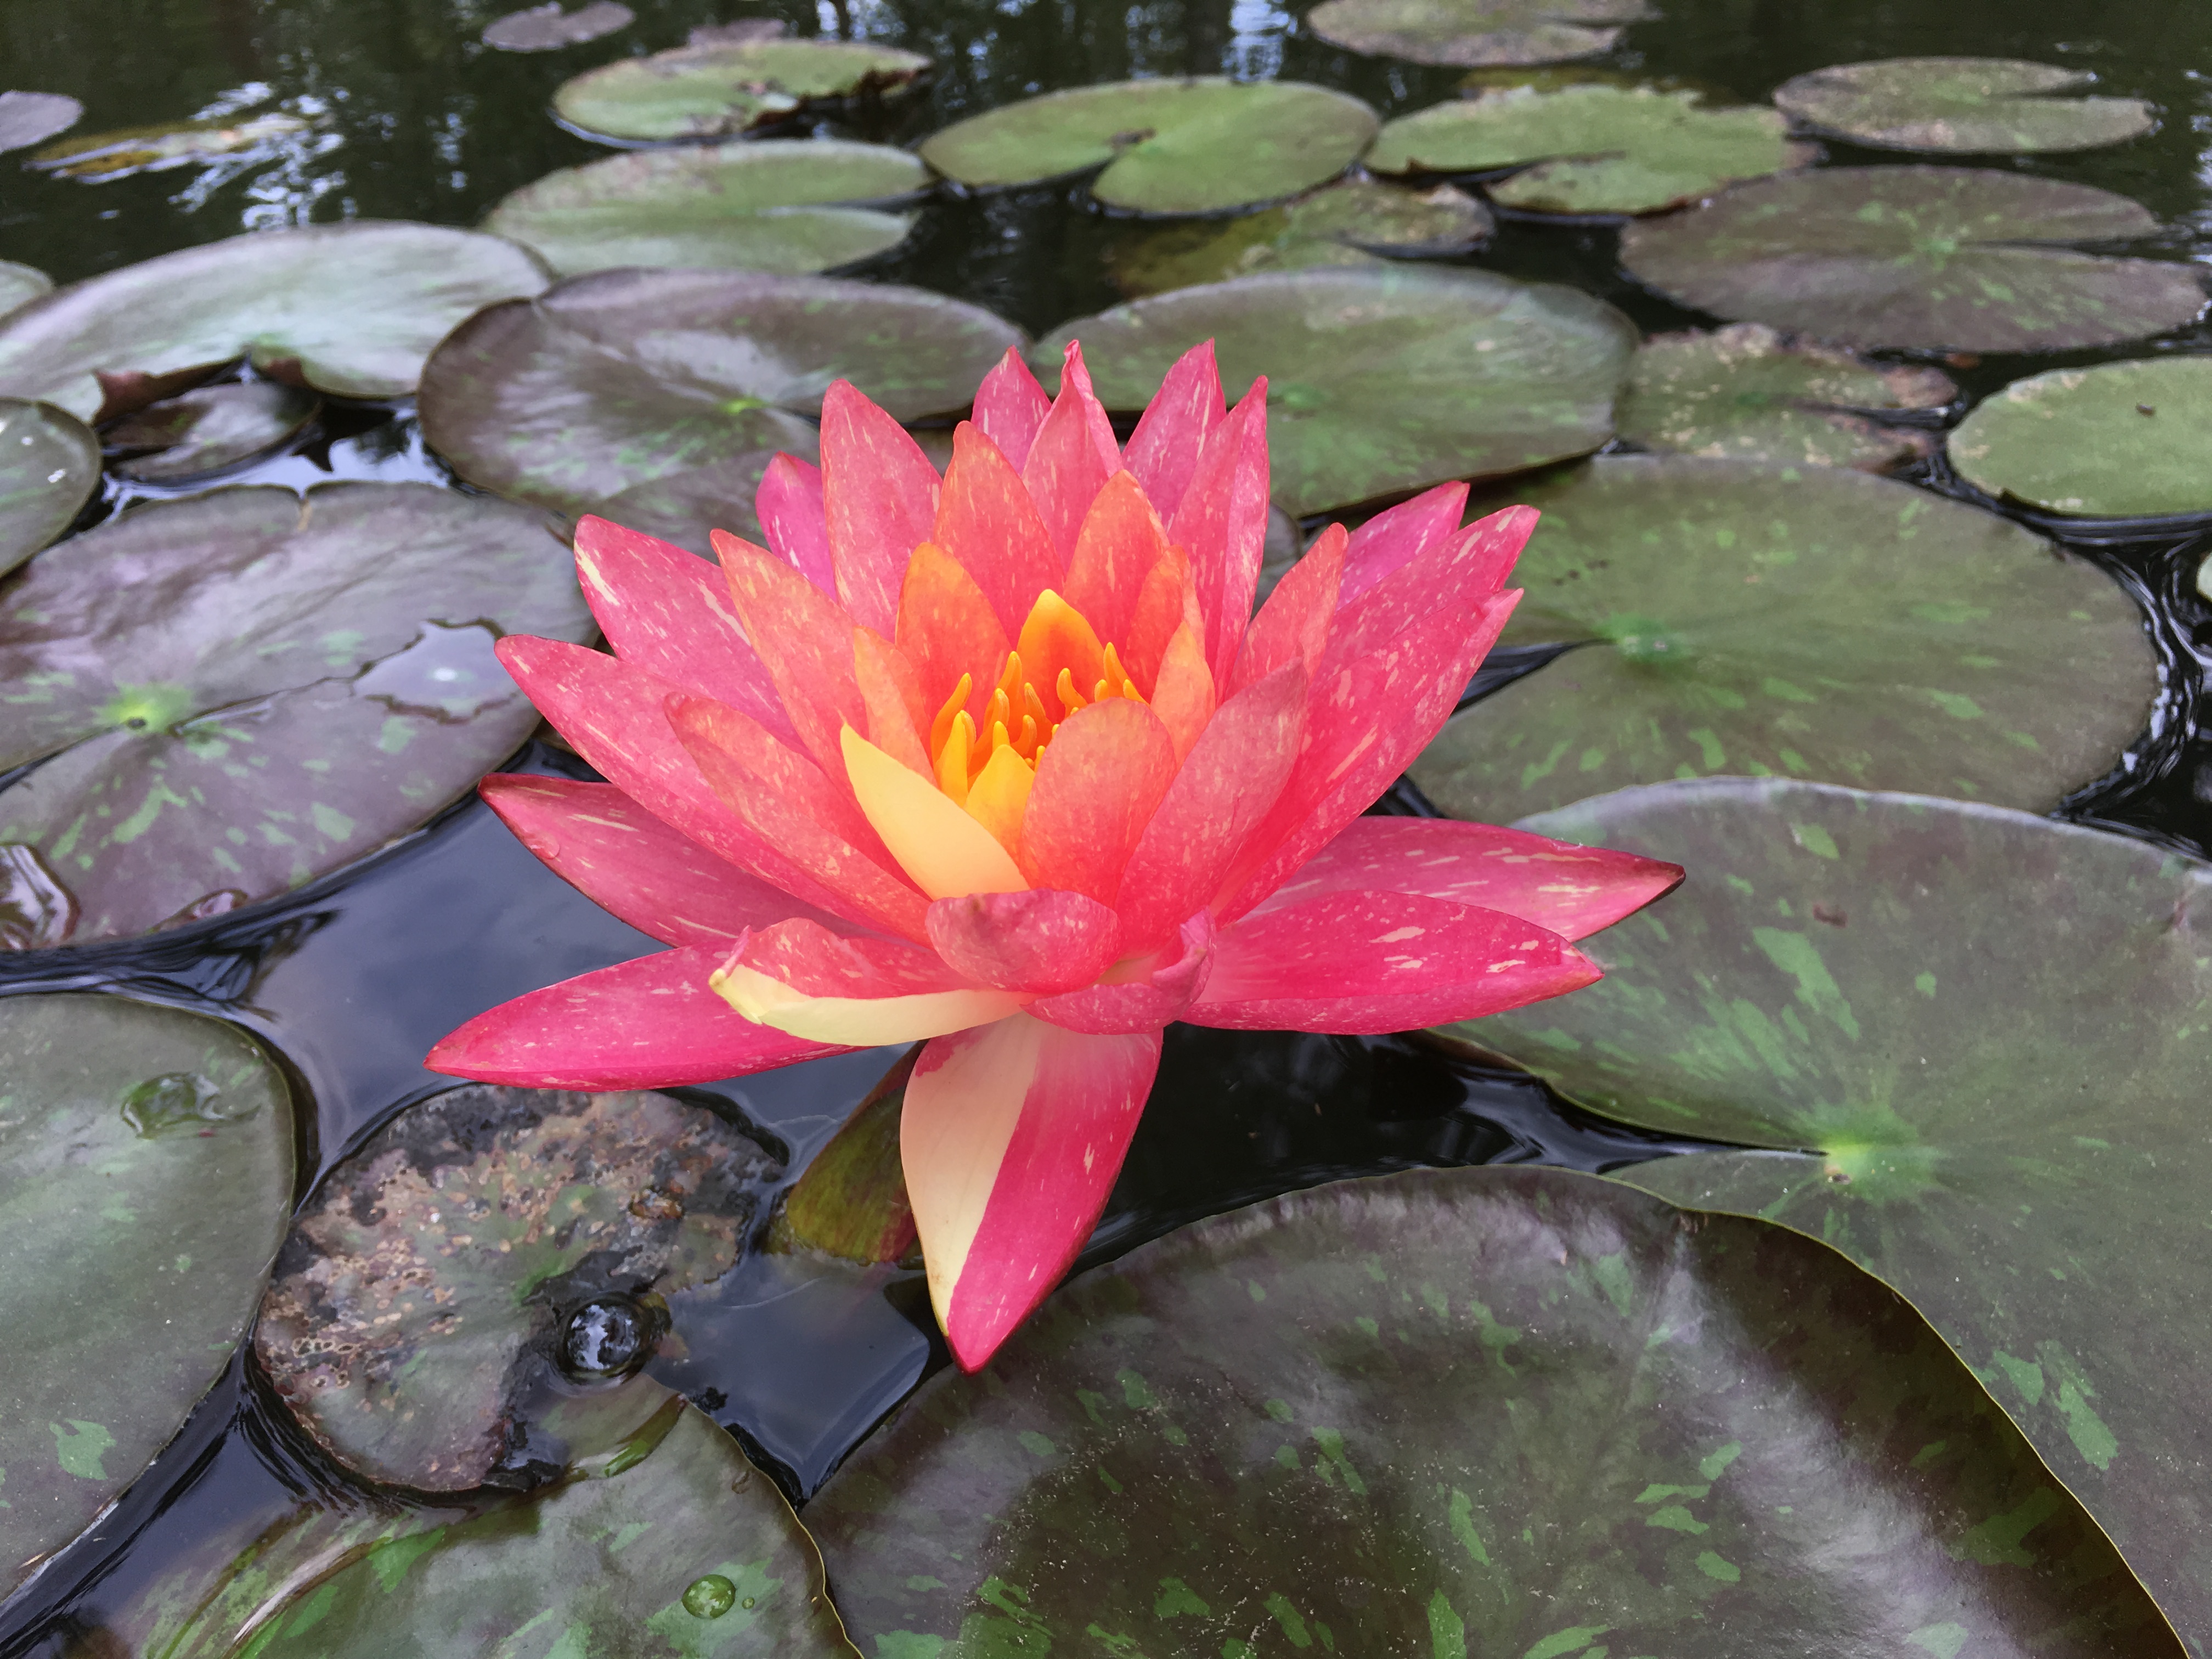
This is how we plant our water lilies.
In our ponds, we plant most Water Lilies in three gallon fabric pots.
This method is fast and allows us a simple way to remove them from the pond for dividing or sale.
It is also ideal for gathering of the tubers of the tropicals in the fall.
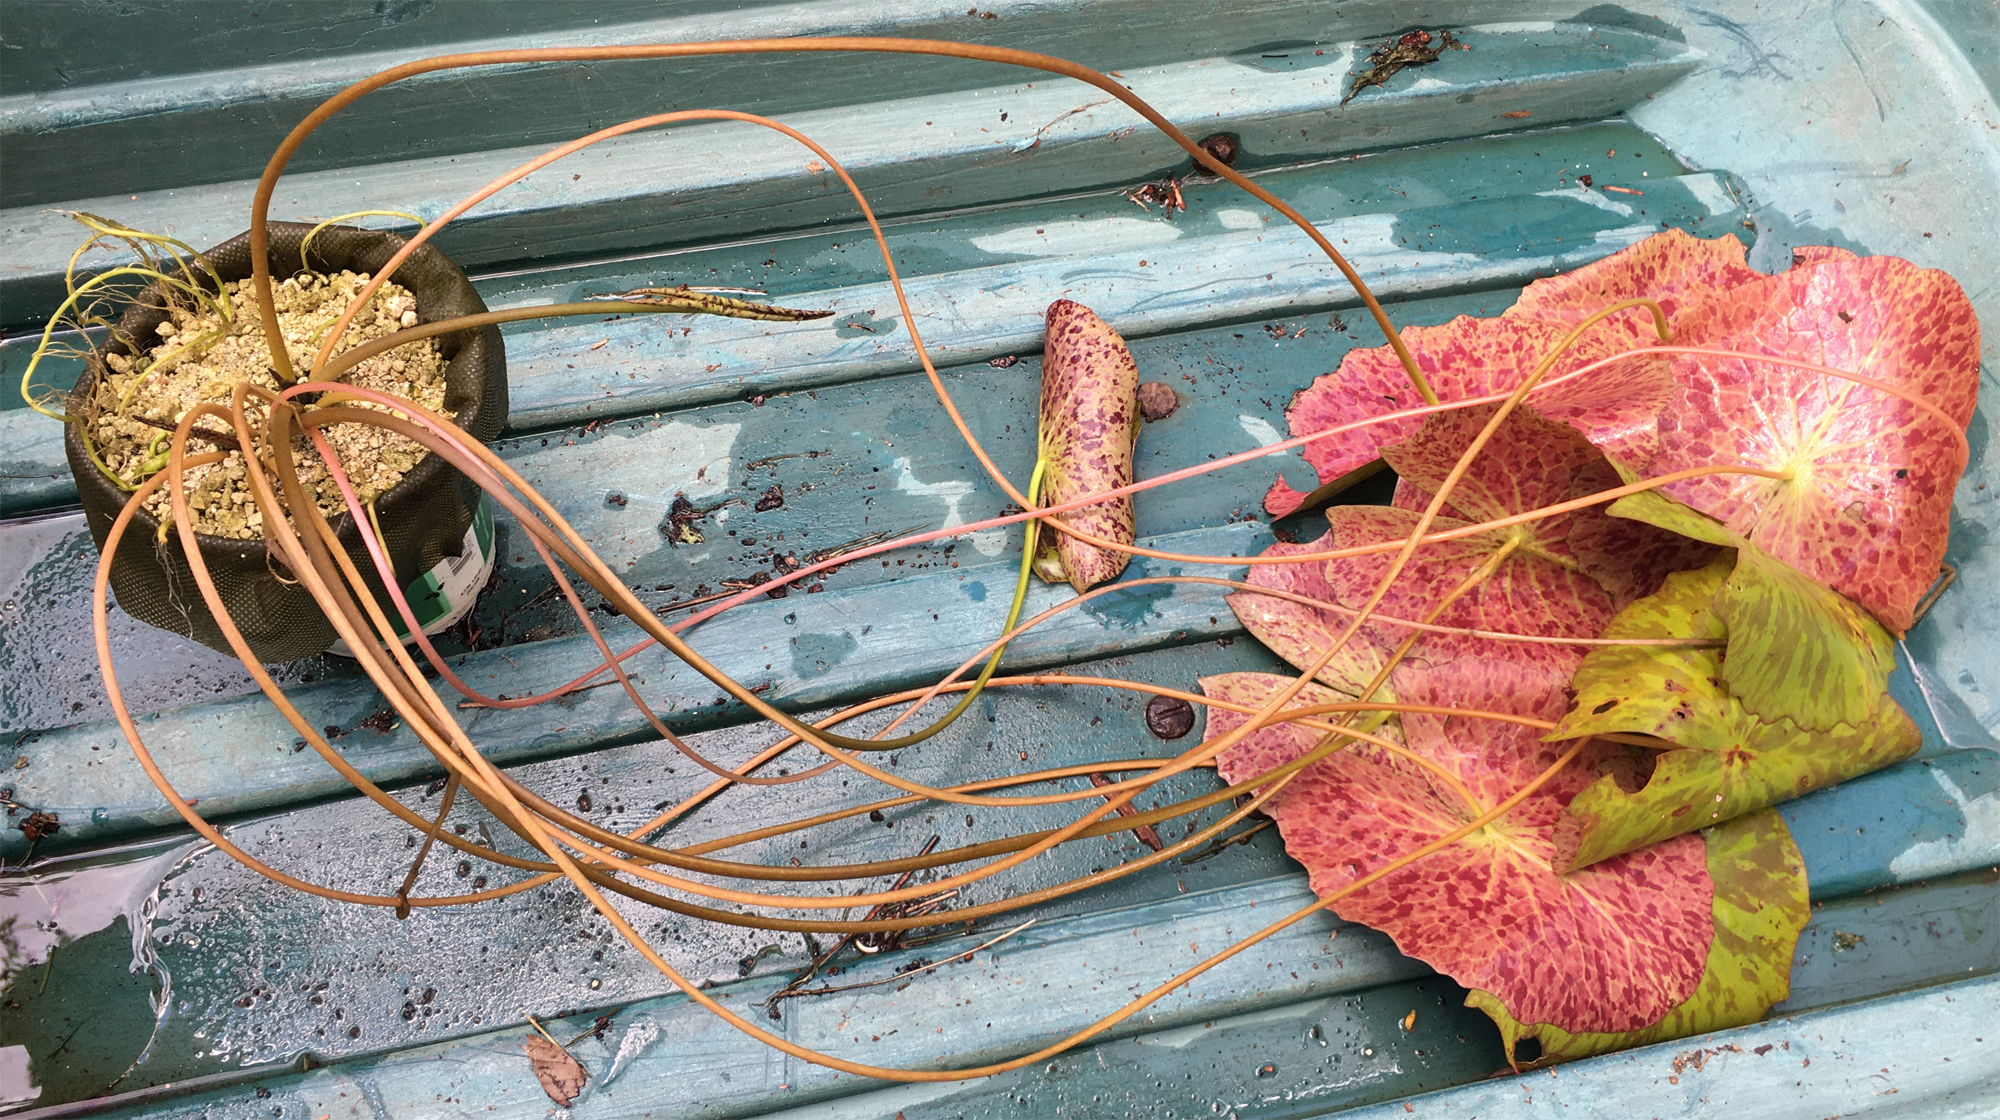
We divide Hardy lilies in the spring and place them and the Tropical tubers in shallow water in the greenhouse.
Once they have reached a size sufficient to keep the Koi from browsing on them, they are moved to one of the large pods.
We mix our soil on site using sand, compost, peat, ground leaves, bagged manure and fertilizer.
We combine it in a cement mixer along with the dirt from any old pots that are laying around.
The material is then screened to become the finished soil for all planting.
This soil is very light, and works exceedingly well for the garden, ponds and general planting.
The one downside of this mix is that much of it can float. This can make a huge mess.
If you fill a pot with this mix and drop it in the pond, half of it will be on the surface in minutes.
The solution is threefold.
Cover the finished planting with two inches of coarse sand to hold the material down.
Soak the container in a large bucket of water before placing in the pond.
Weigh the container down to keep the light material from floating.
Without the bottom weight
the whole container could float upside down.
The layer of sand at the top makes the container top heavy.
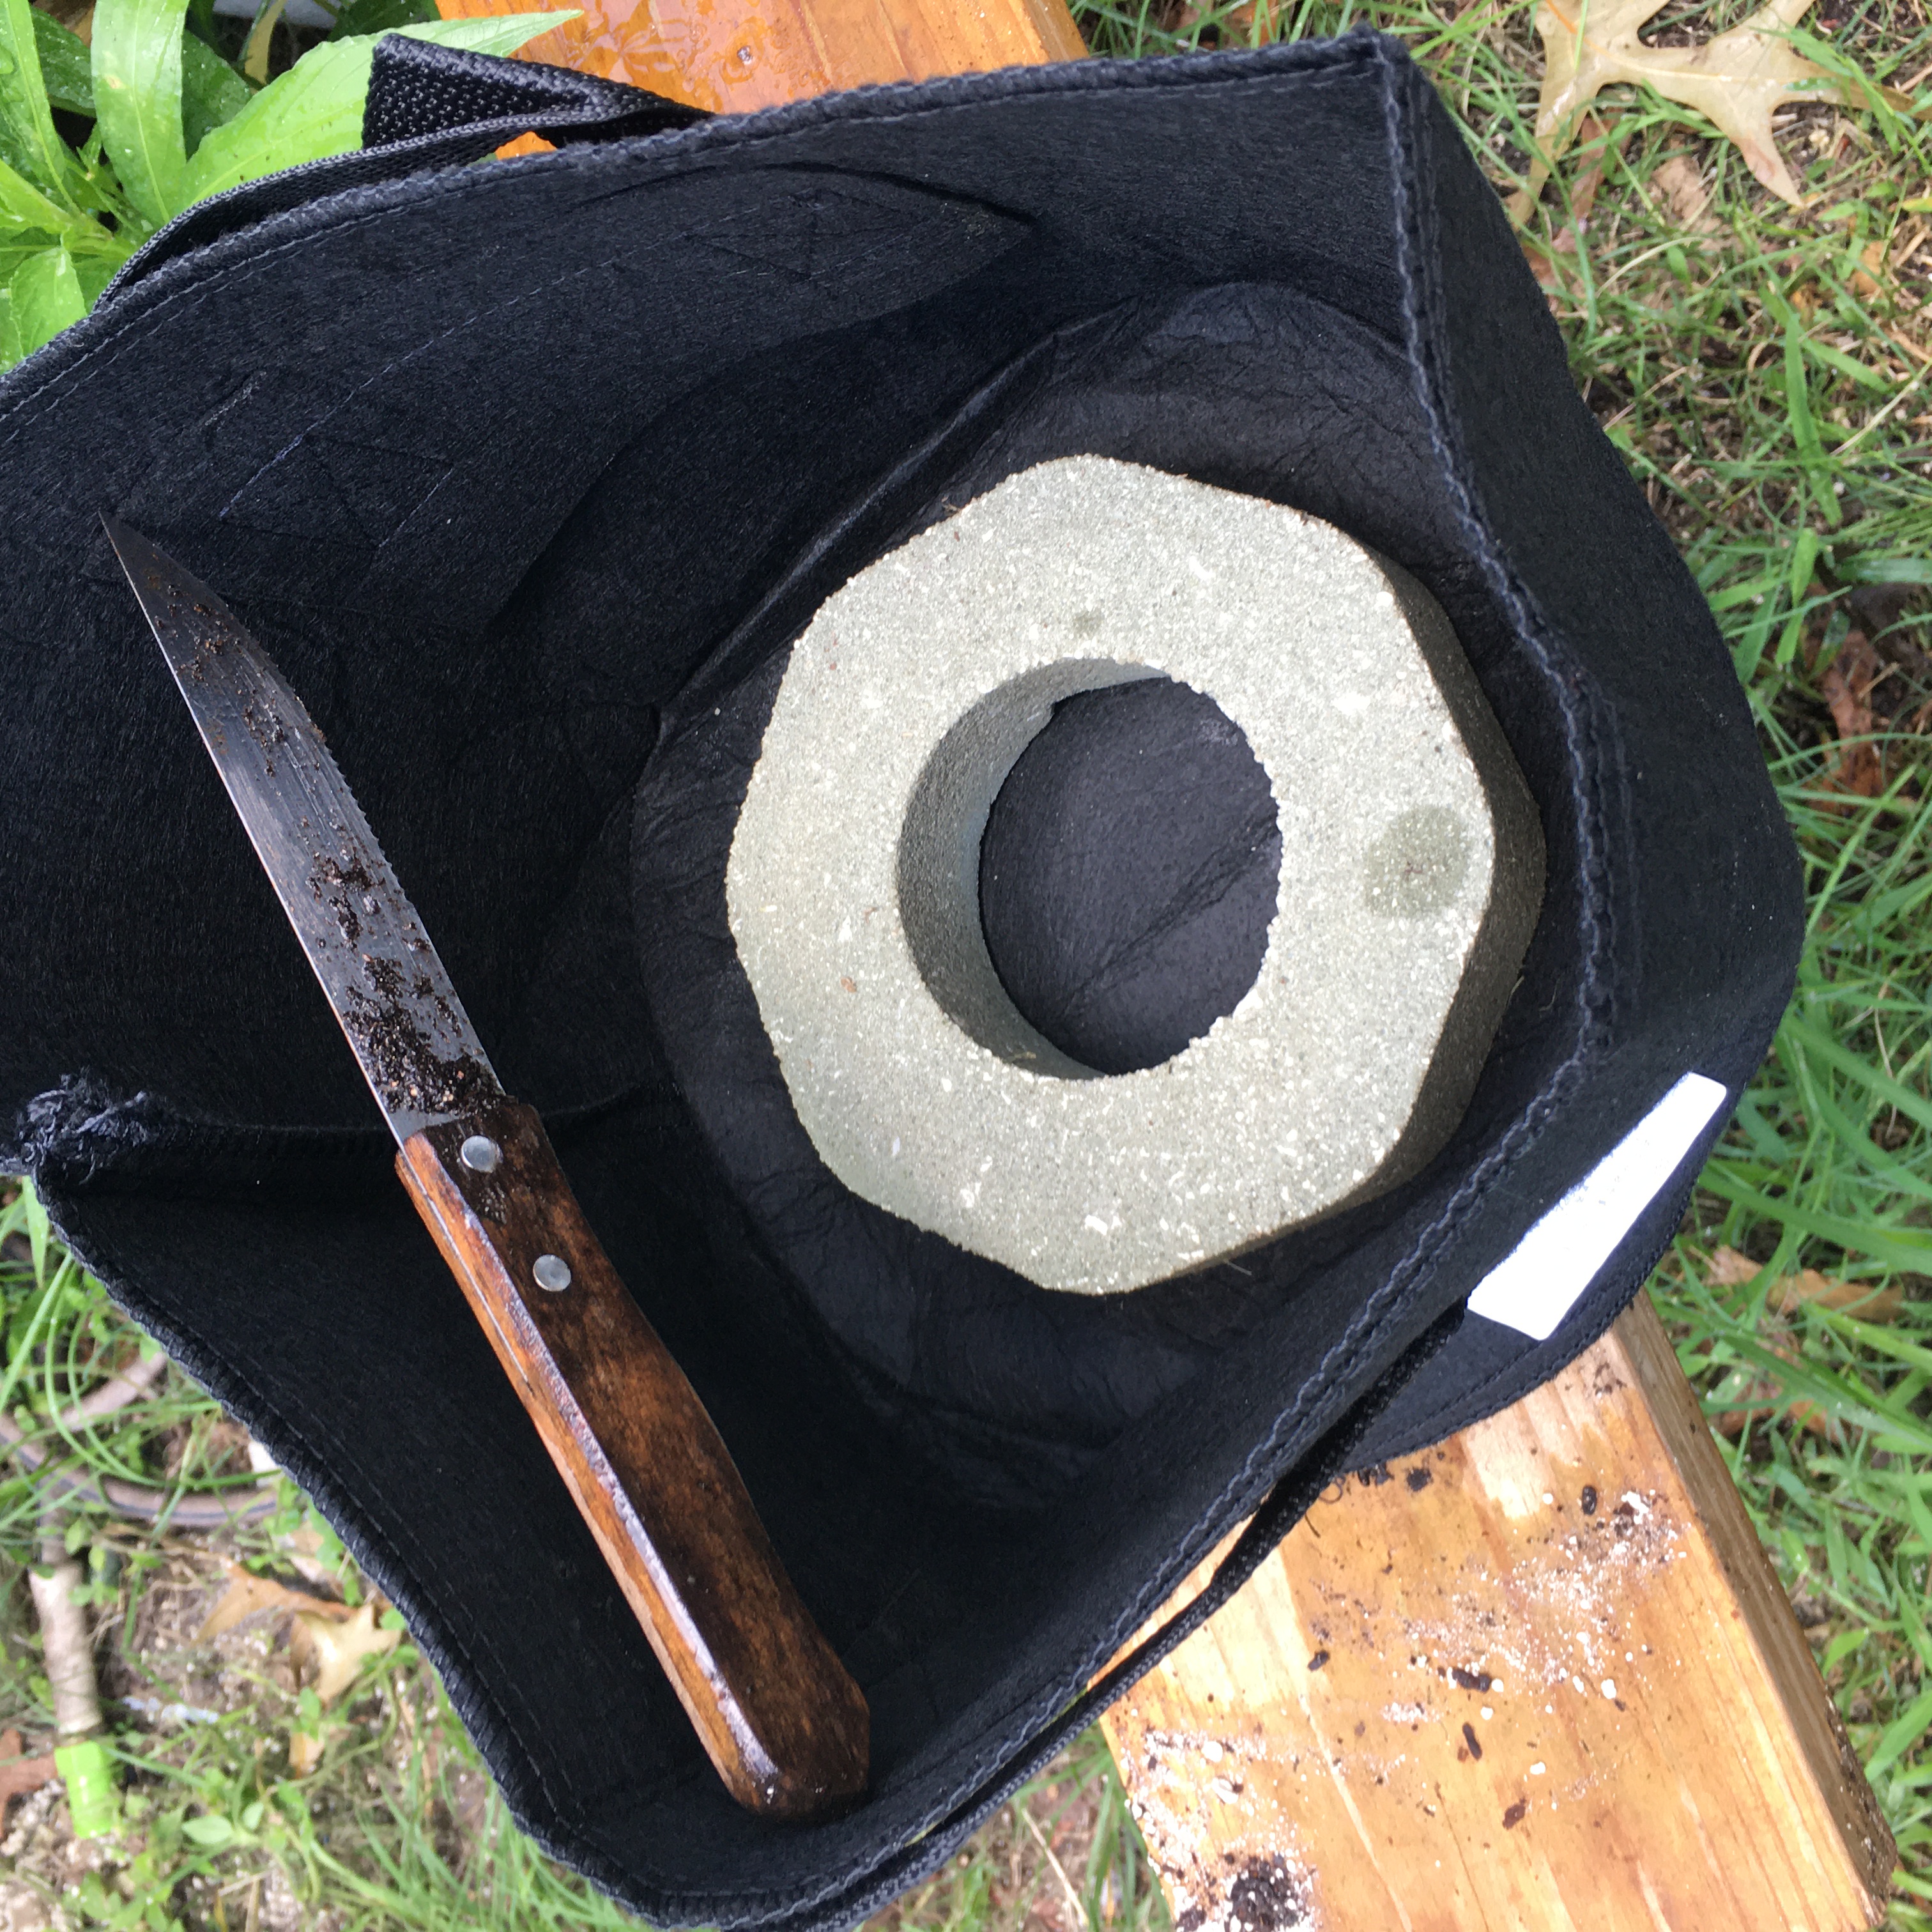
To counter this, we place a cement lawn sprinkler ring or concrete at the bottom of the container.
The planting will soon equalize itself by becoming waterlogged, and it will stay put.
This method has proven itself over numerous years. It produces large healthy lilies very rapidly.
The exact steps that we use are as follows;
Start with a container of sufficient size for the type of plant being added. 2-5 gallon pots are normal.
A five gallon pot is overkill for water lilies and it requires a huge amount of soil to fill. 3 is better.
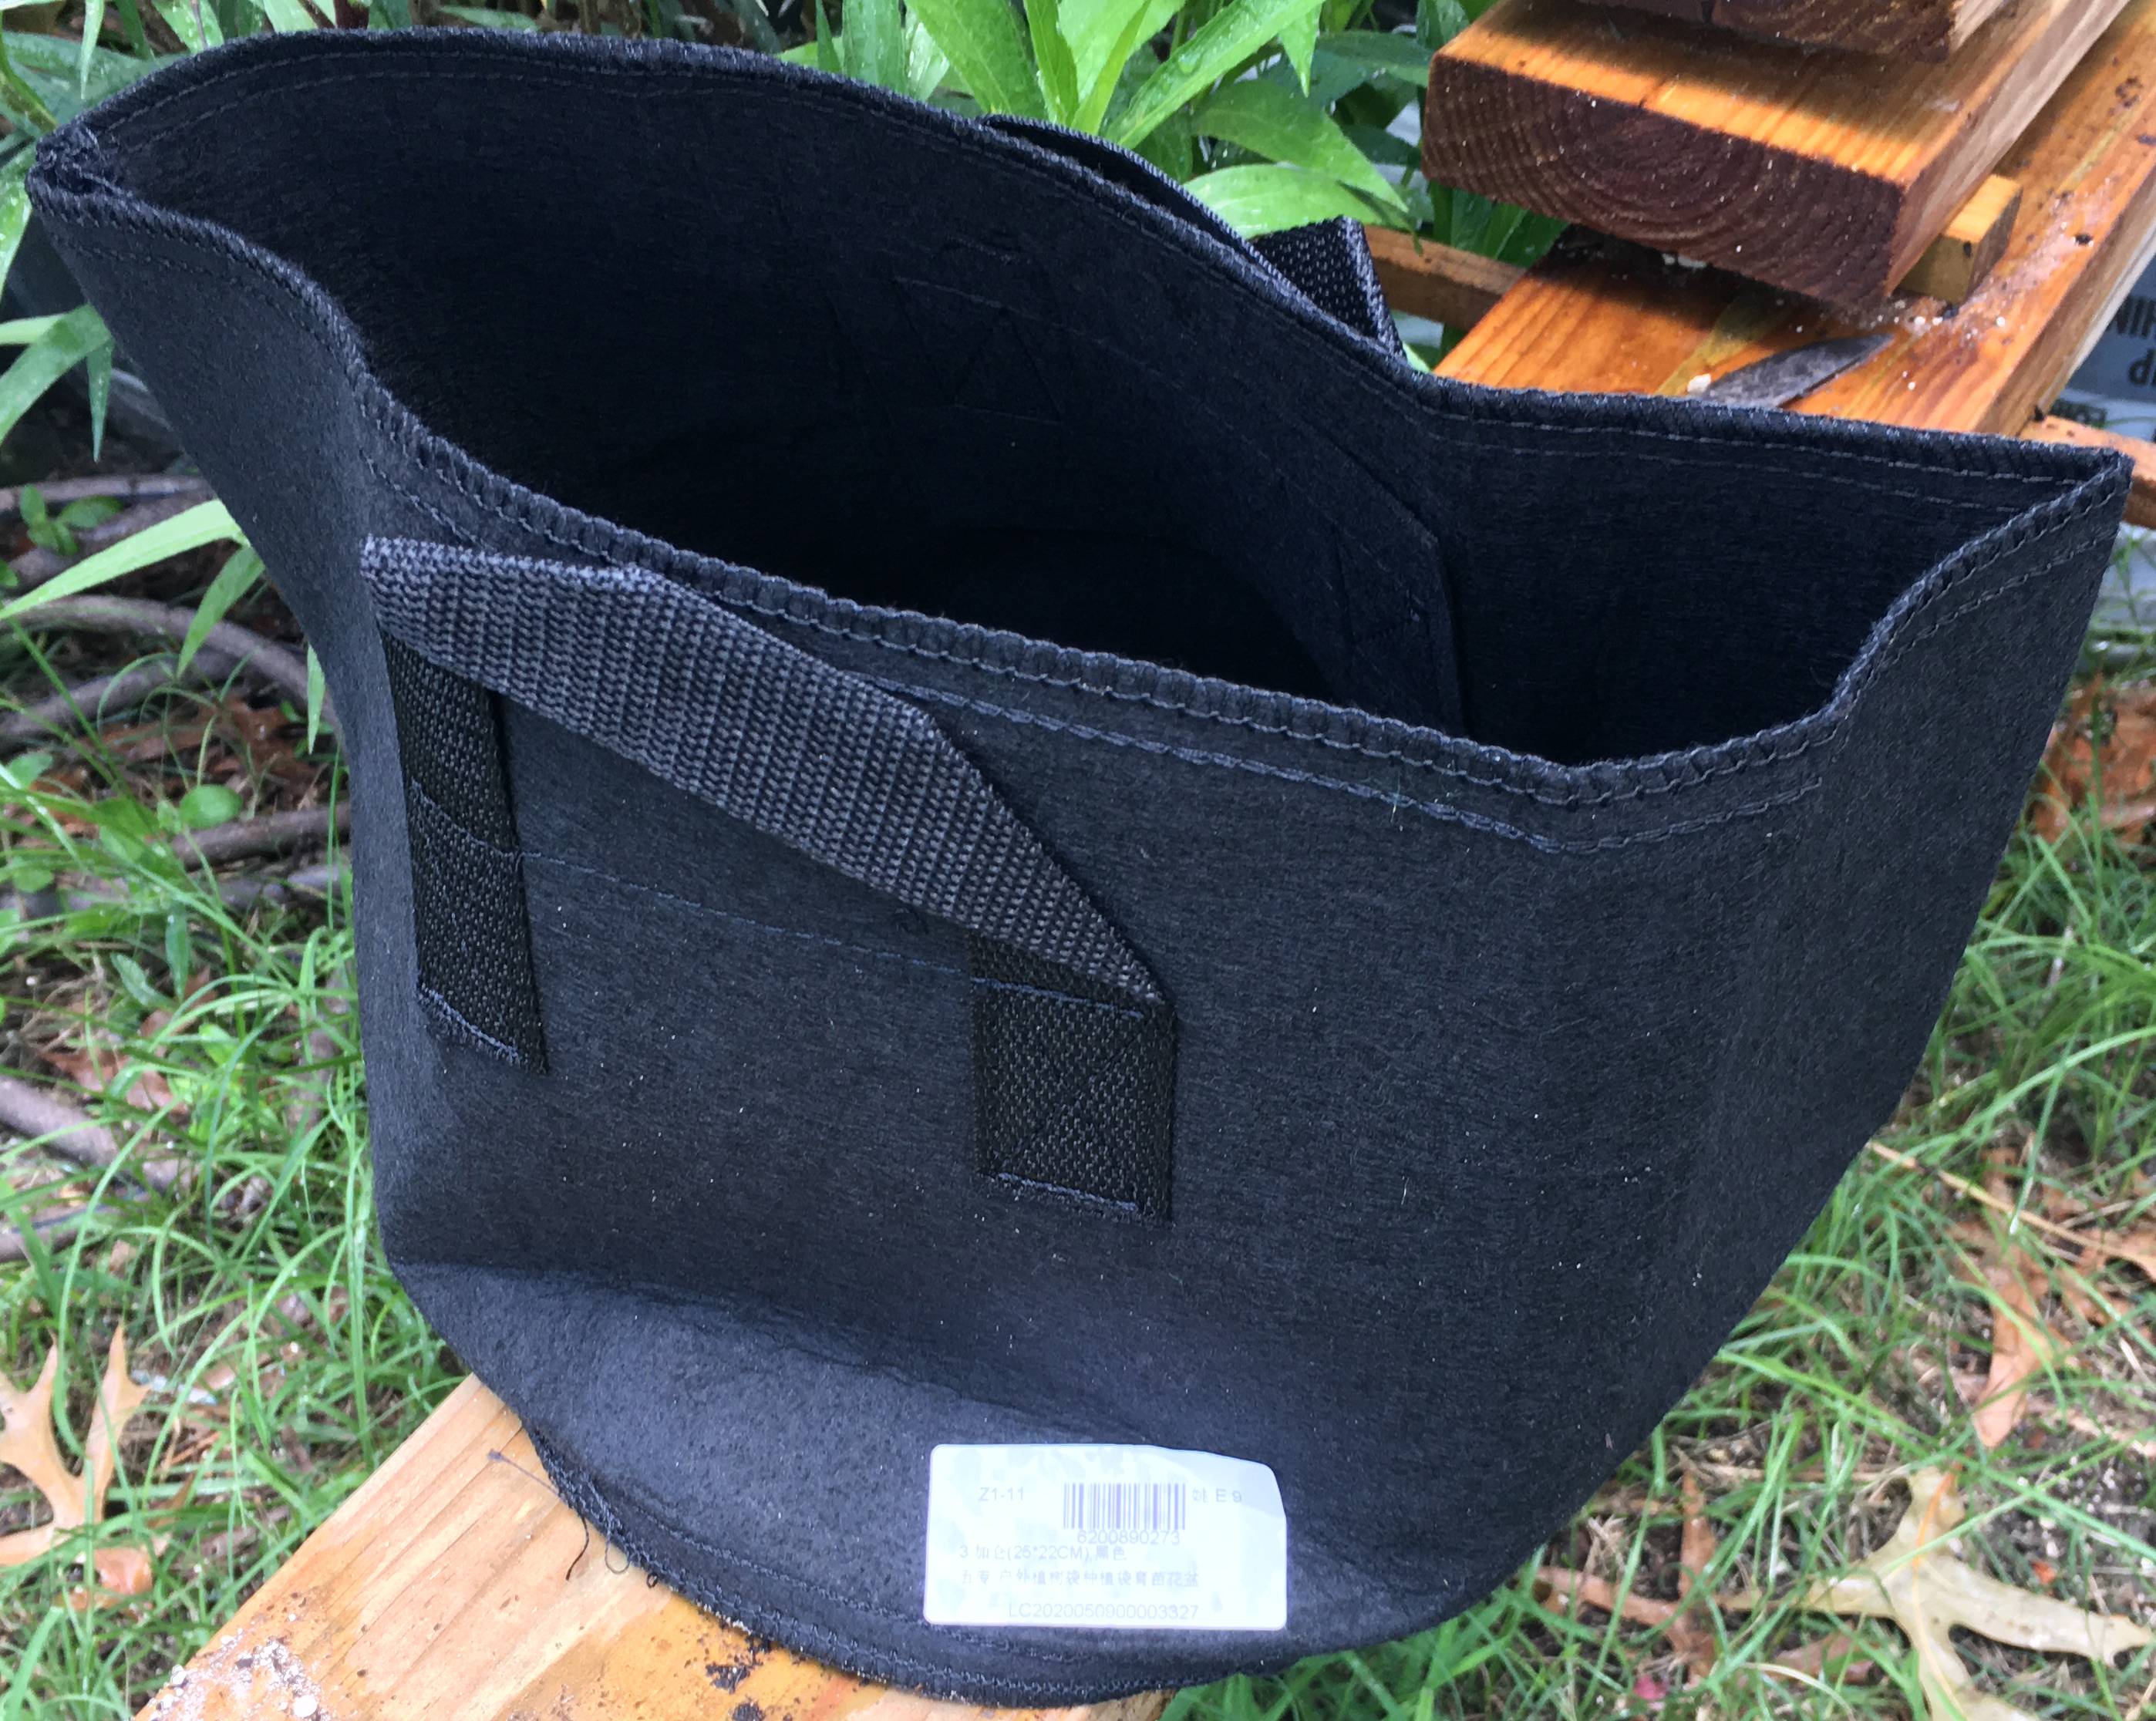
Fabric pots have worked well. They are about $2 online and the handles help with moving them.
Add sufficient weight to the bottom to hold the planting in place. Concrete is cheap and easy. Wait until it has set hard.
Add fertilizer to the bottom of the pot for tabs or add it to the mix if granular. Never use anything containing copper.

Select a healthy plant, large enough that your fish won't think it is salad.
We grow out our smaller plants in the greenhouse, and later in shallow ponds in full sun with no fish larger than Gambusia.
Remember, Gambusia eat Mosquito fry. Healthy Gambusia means less Mosquito bites.
Place a couple of inches of soil into the container. Place the water lily.
Tropicals go in the center, Hardy lilies go along an edge, facing away in their direction of growth.
Spread the roots as much as possible while filling the container, compressing each layer solidly as you go.
Leave a couple of inches of space at the top for the coarse sand.
The sand keeps koi from digging and holds light soil in place.
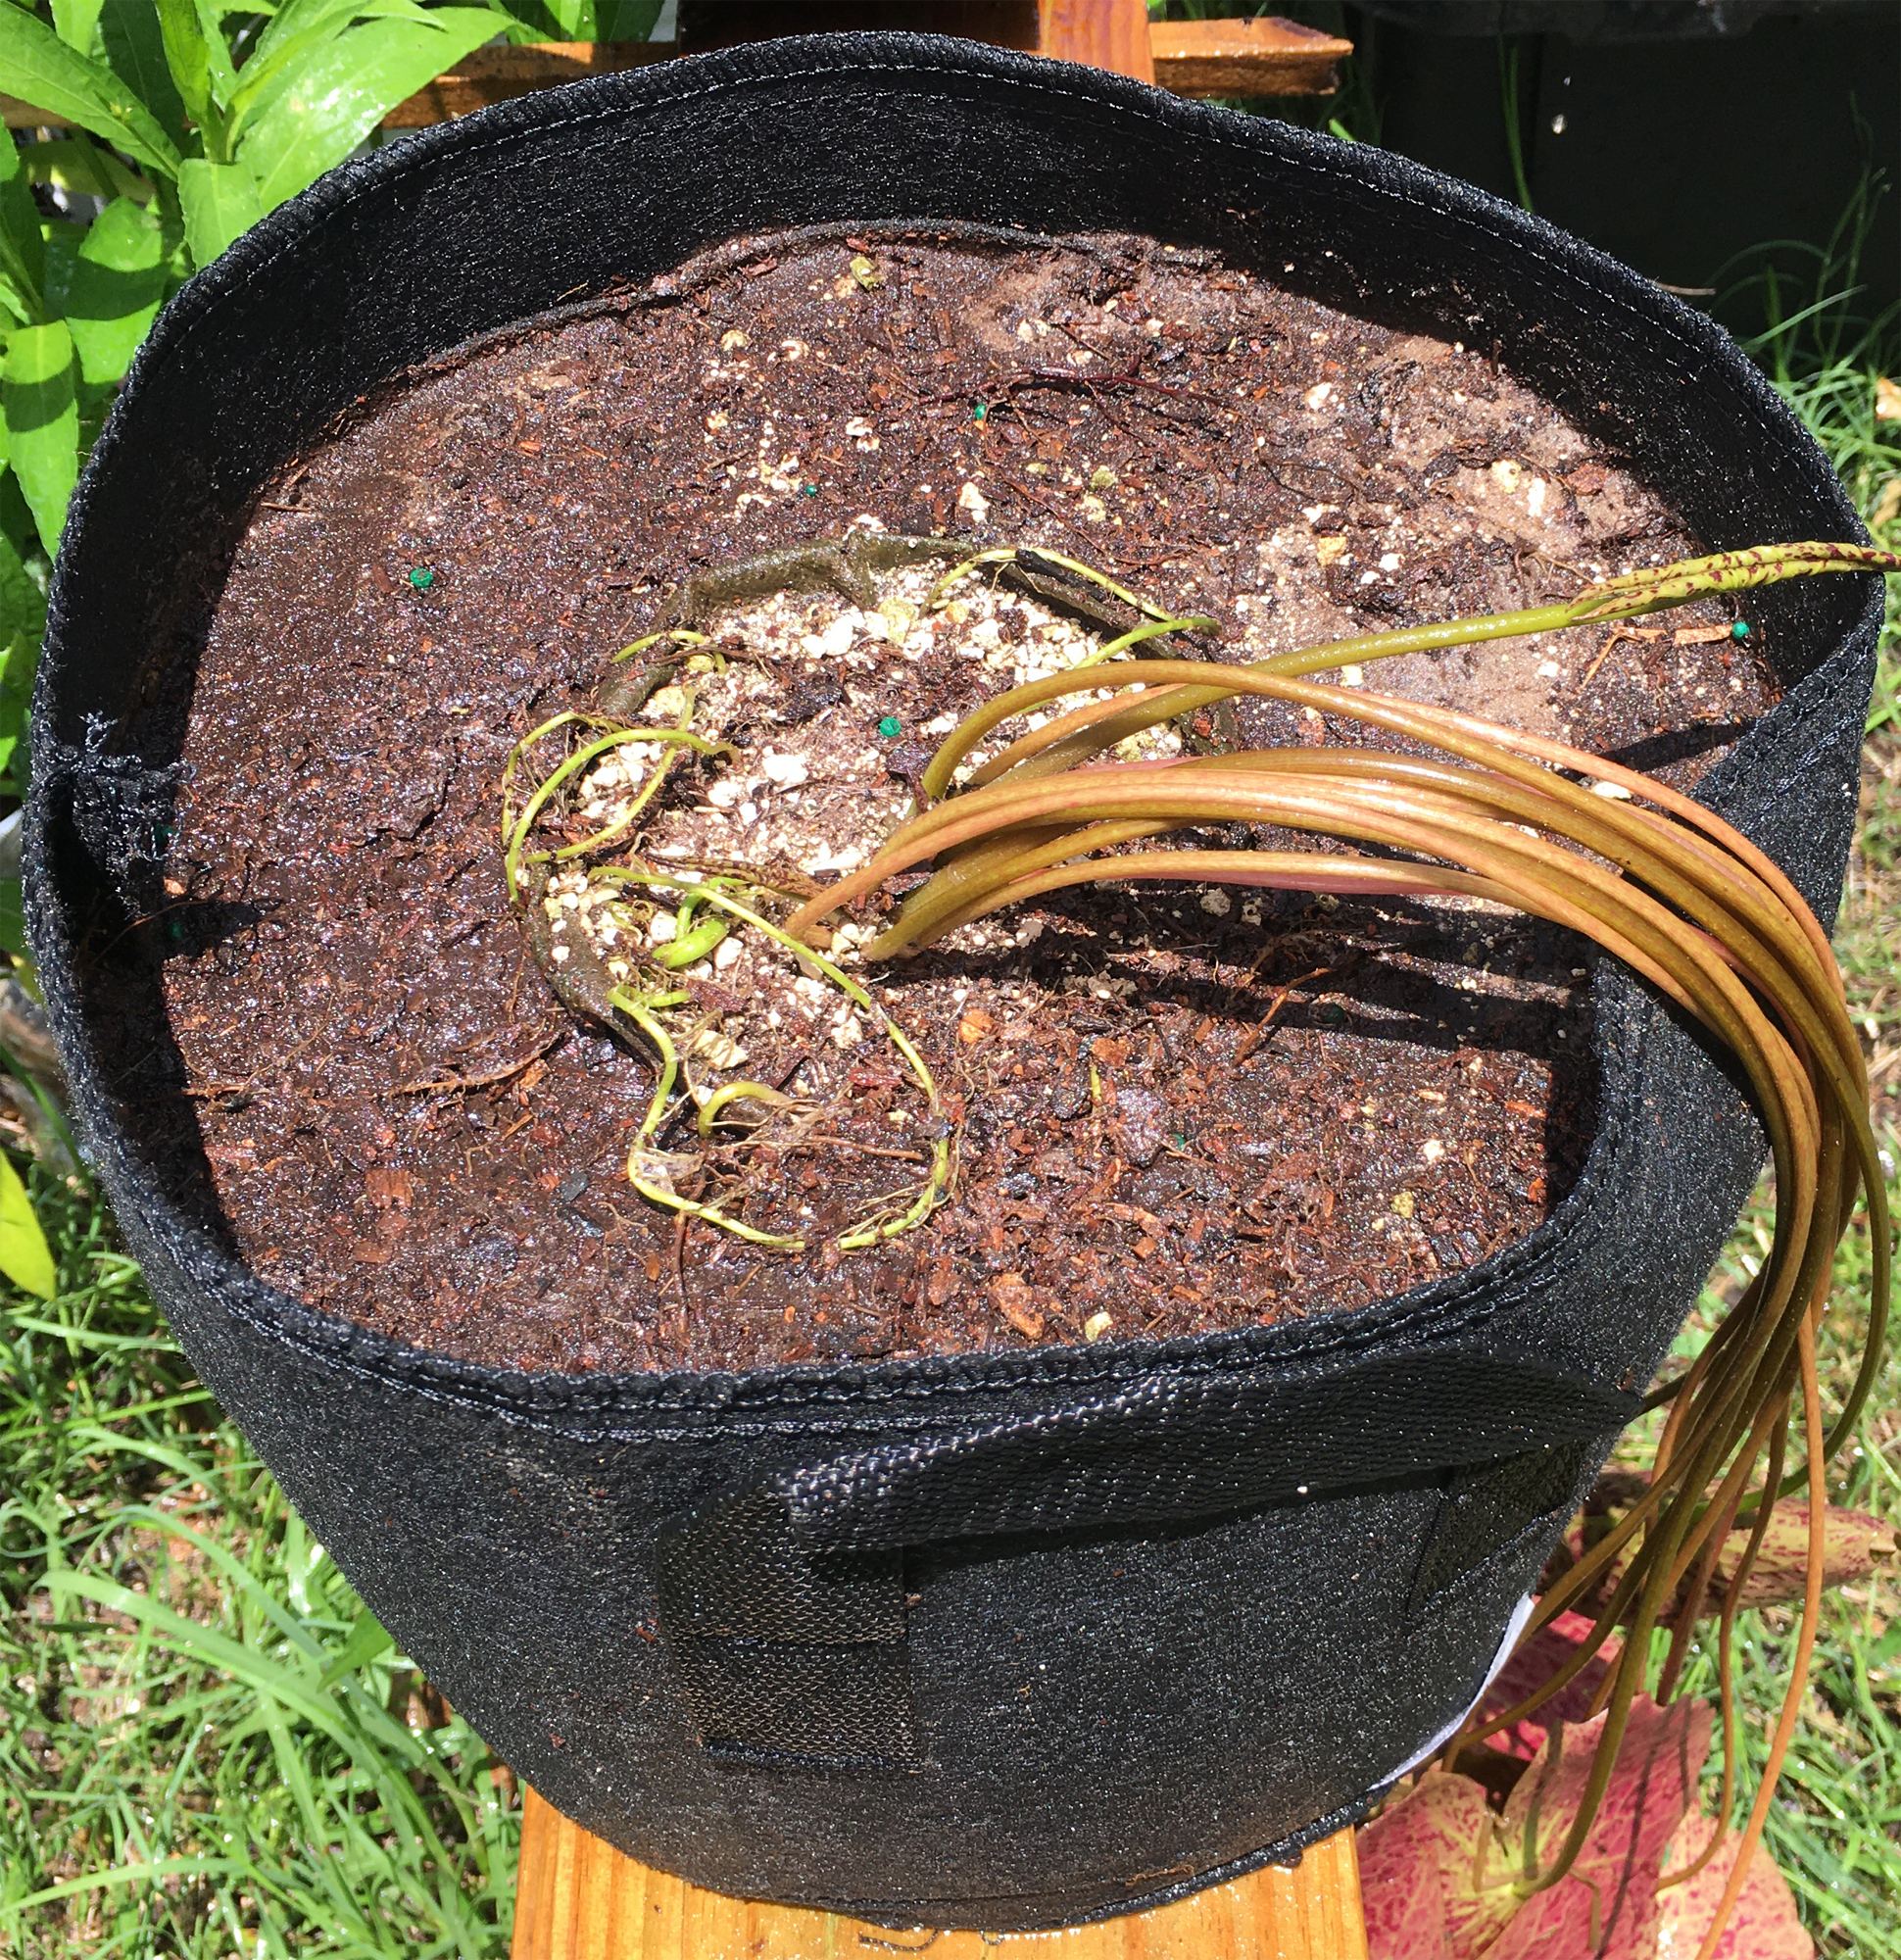
Rinse the whole container, in and out with a light hose spray.
This will clean up all of the loose material, then soak the soil good.
Your plant should look like the one in the above photo.
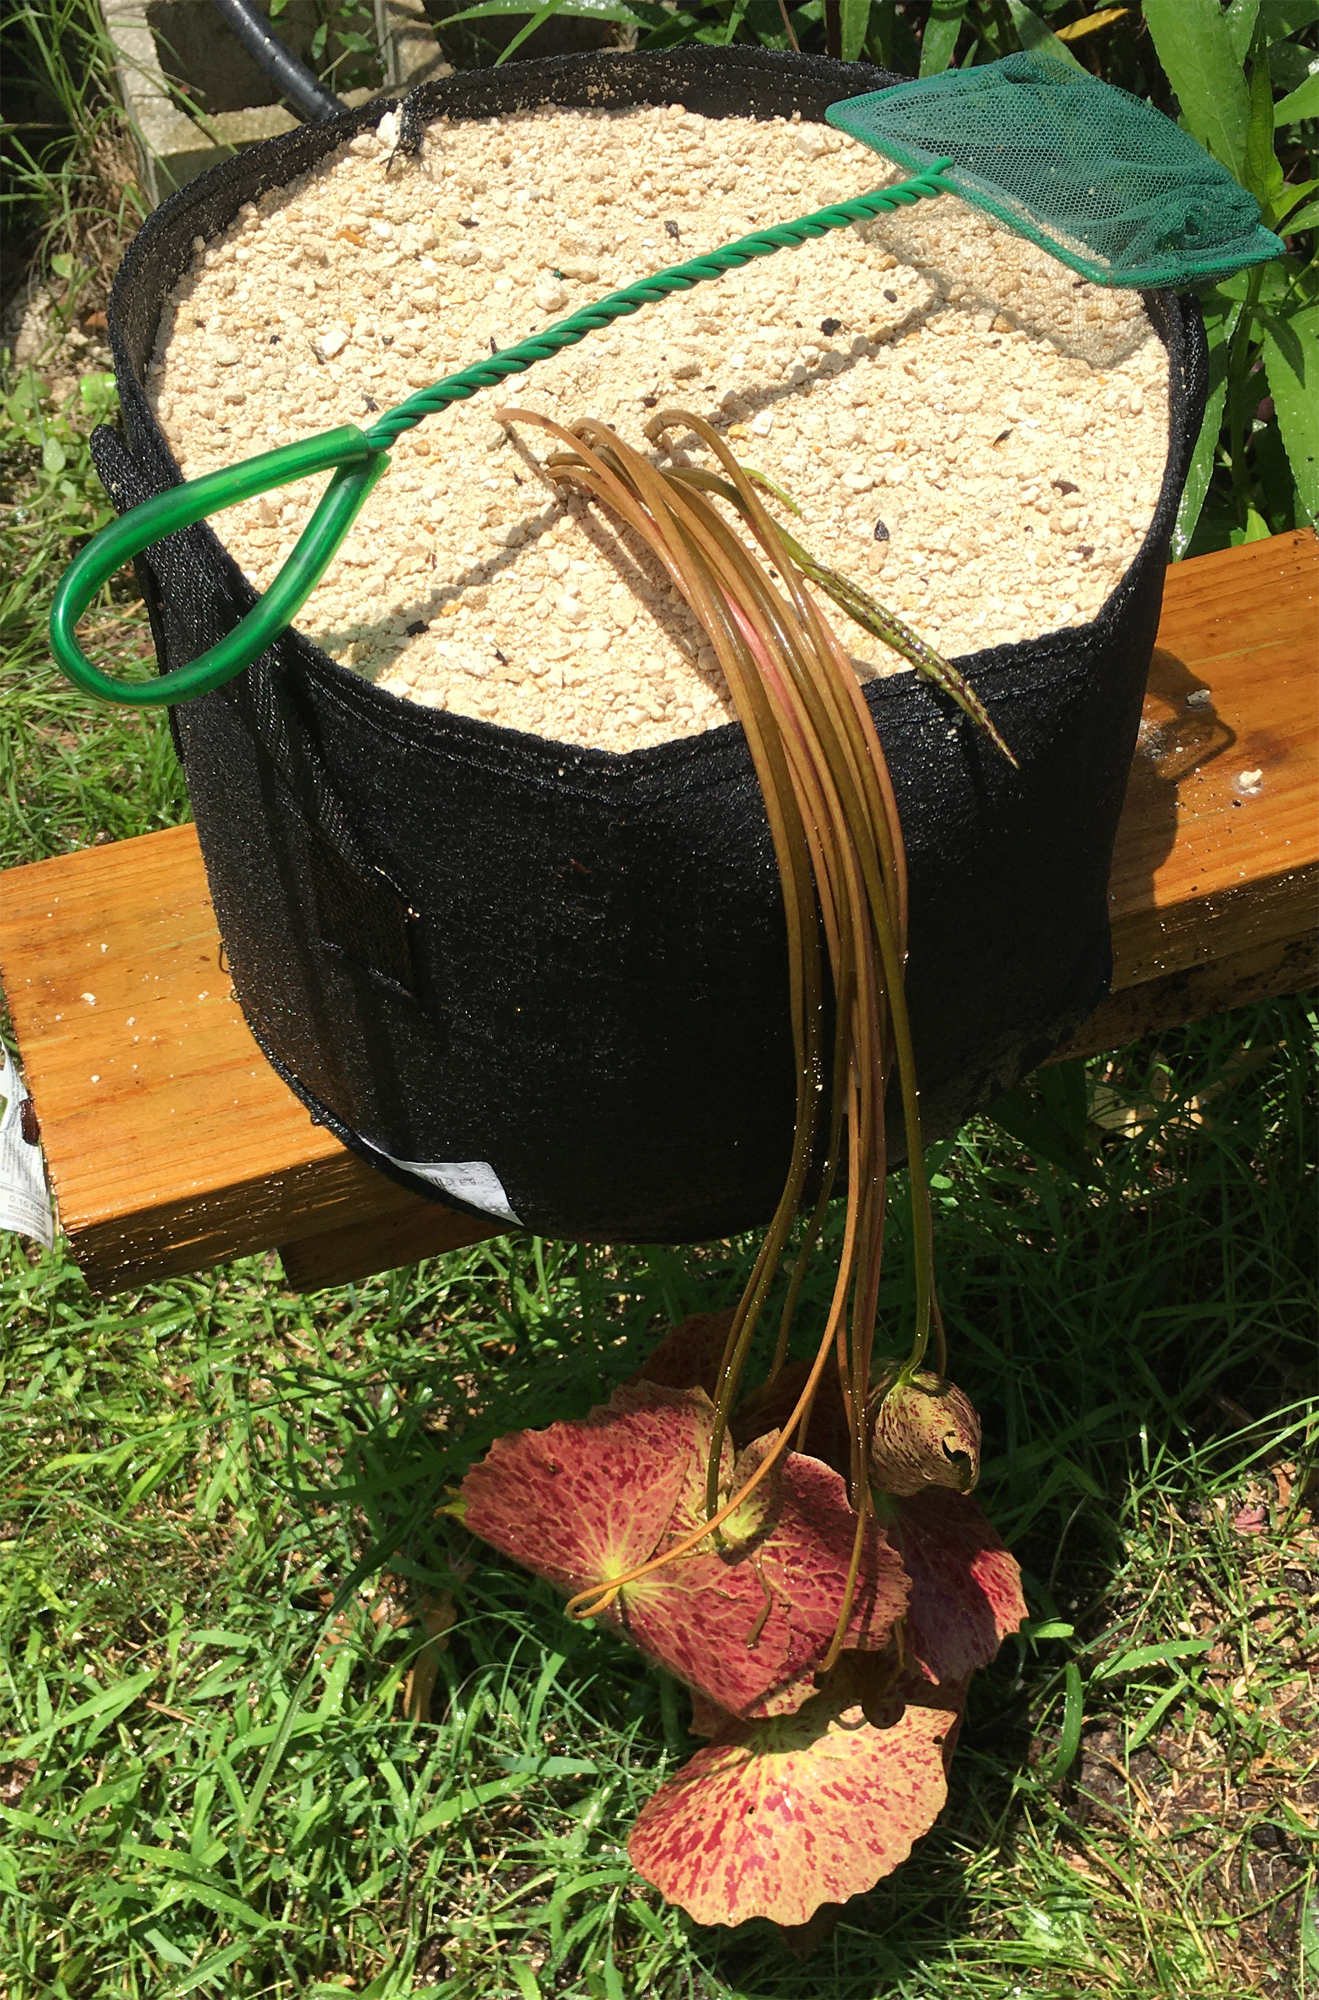
Now add a couple of inches of coarse sand on the top and give it another bath.
Then slowly immerse the whole thing into a bucket of water.
The bucket should be deep enough to allow any light material to float to the top.
Skim or dump off the floating stuff, repeating until the water's surface is clean.
You are now ready to place the completed planting into the display pond.
o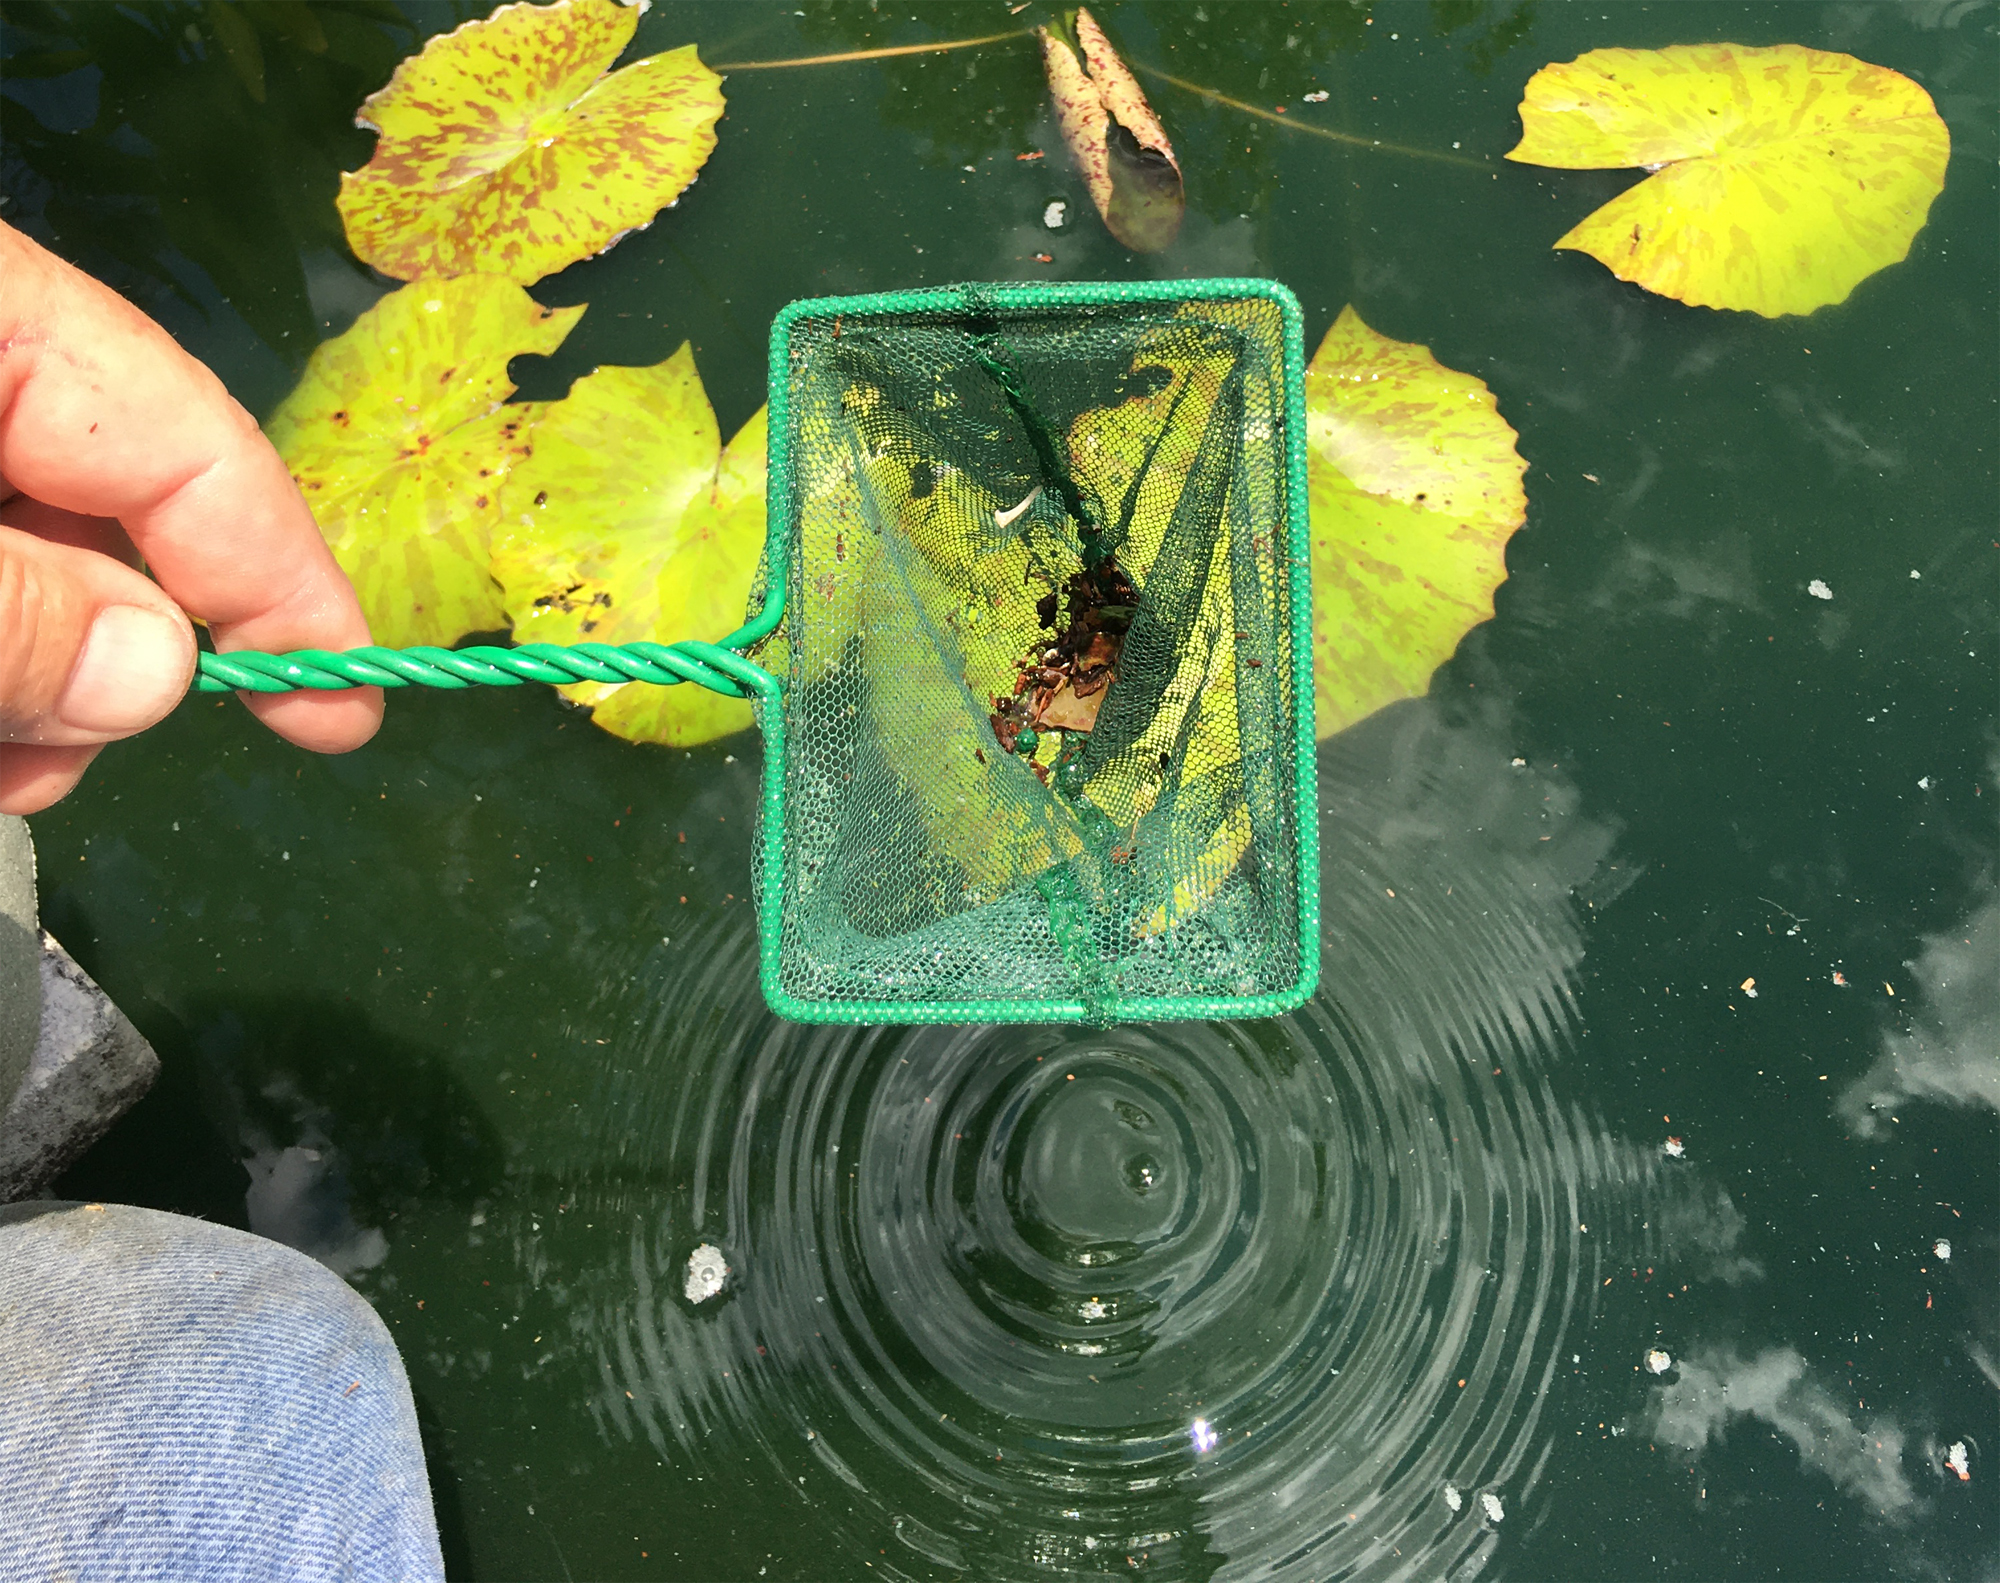
Always keep fine screened nets handy, especially when placing the pot into the display pond.
Floating trash is an eyesore. Catching it now keeps it out of the filter and makes the planting much more professional.
Good Luck and Enjoy your Pond Hobby.
Dick & Ailyn Wilson at Ailyns-Pond.com
---> Line Removed - Paypal account closed <---