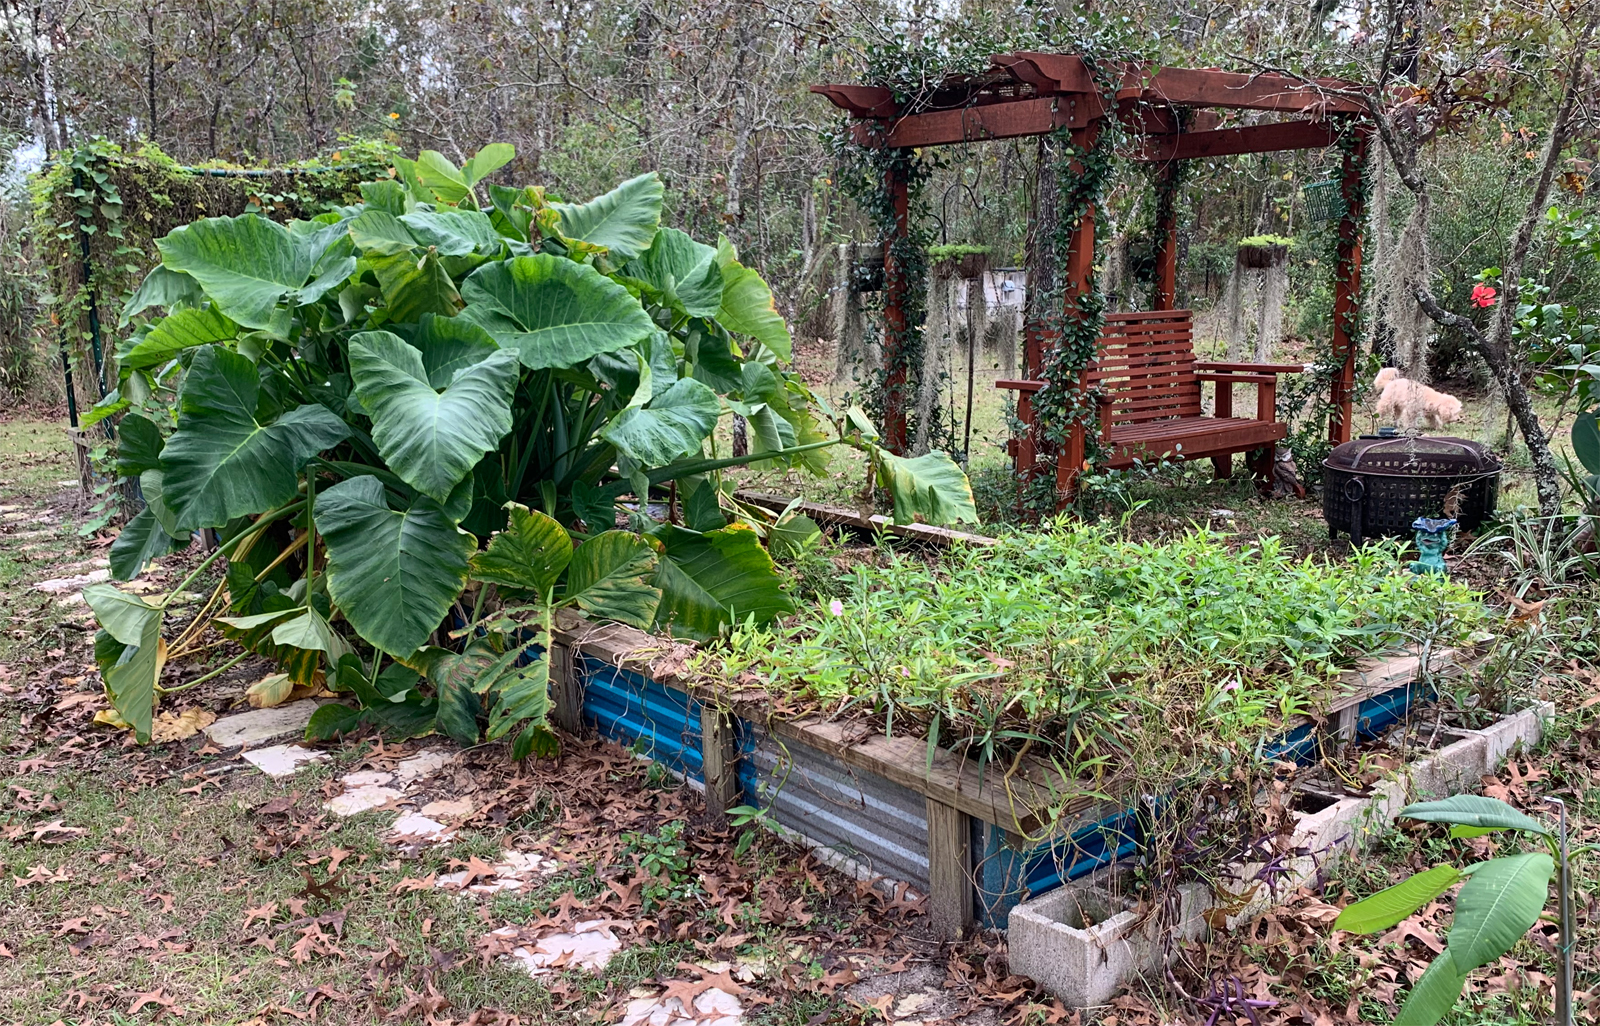
Raised Garden Wicking Bed SIP (Sub Irrigated Planter)
The "wicking bed" raised garden produced a phenominal crop this year. There are numerous styles of SIP beds (Sub Irrigated Planters). Ours is pretty basic. Sand bottom. No pipes, rocks or other contraptions in the bottom.
Here in Florida, on top of a huge sand dune, it is impossible to keep the normal ground moist enough to grow a gerden. Water that is applied quickly disappears down thru the sand and the 90F summer heat dries the surface rapidly. Water is pricey here, so we have had to be inventive to have a garden that would not break the budget. Our previous rototilled surface garden needed continuous sprinkling and our water bill skyrocketed.
Our new garden is a simple "wicking bed" style, with it's bottom deep into the ground and raised walls around the perimeter. The garden bottom is 12 inches below grade. The above ground walls are16 inches tall.
I bought several galvanized steel sided raised garden kits from Northern Tool to use as parts to create the perimeter. The final dimension is 60 feet long and 6 feet wide.

It might have been better to go with a four foot width to make reaching into the center easier. I could have cut the end panels to a four foot width, but at the time, "bigger" seemed better.
I dug a 12 inch deep very long hole just slightly wider than 72 inches. the hole was raked smooth to eliminate any debris that might poke a hole through the plastic liner. The hole was lined with 12" x 12" x 1-1/2" stepping stone blocks. The blocks were stood on edge with 2" extending above ground level. This created a one foot tall wall around the whole perimeter of the hole. Before placing the blocks, I used a hand grinder, with a diamond blade, to cut a groove in their top edge into which the side panels would nest. One single large roll of 10 mil black plastic sheeting was placed inside the walls and on the bottom. The plastic was wide enough to extend up over the wall by several inches for being secured later. Having still soil makes this easier. My sand had to be moistened well enough for the outer walls of the hole to support the blocks on the outside. I used string lines to assure straight alignment of the blocks. Being careful will assure that the aluminum raised panels will nest into the top edge of the blocks which keeps the walls from expanding out from the weight of the soil. I also banked up a few inches of soil around the perimeter when finished to add extra support.


The sand dug out of the hole was mixed with peat moss, ground oak leaves, finely ground trimmings, bagged Walmart compost and three year old compost from our pile in the corner. I used an ancient Harbor Freight cement mixer and wheelbarrow for that. This gave me the chance to mix it well and add fertilizer. We never waste grass clippings. Everything heavier that my 5hp grinder can handle, is used as mulch or composted in the big pile back in a corner.
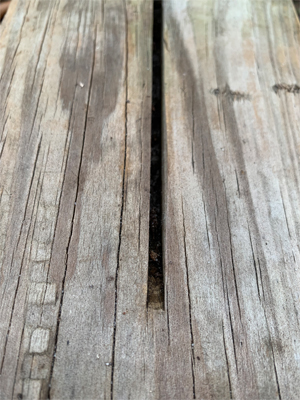
The next part of the design is a wide wood cap rail for sitting on when gardening. The cap rail is made of standard 2" x 8" pressure treated construction lumber. I cut a lengthwise slot in the underside of the 2 x 8's to allow them to nest over the aluminum sides. Once installed, the cap rail also keeps the sides from buckling out. In addition, I added pressure treated 2 x 4's driven into the ground about every three feet. Here the sand is soft, so I drove about two feet of them into the ground with screws driver down thru the cap rails to secure everything together.
The bed liner of 10 mil plastic has several thru-hull drain pipes inserted in the walls at ground level. These drains make certain that the heavy rains that accompany our hurricanes, don't fill the garden higher than desired. I've seen 6 inches of rain here in a single day, and also droughts that never produce a drop for three months. I also buried 2" pvc pipe about every four feet along the sides to accomodate netting for beans and climbing plants.
The bottom fill in this garden is the sand that was dug out of the original hole. 14 inches of good planting soil sits above that with just a thick initial layer of straw and paper in between. Rain fills the bottom sand reservoir and the water wicks up and keeps the upper soil well moisturized. Everything grows rapidly, from radishes to 8 foot tall elephant ears which I will be relocating this fall.


This project has created a very strong raised bed that I can walk or sit on. I place a wide piece of 2 by lumber across from side to side when planting seed to I can sit and not have to reach. We cover the garden with platic each spring and poke holes through it for planting. This eliminates weeds and holds moisture in the bed. This year I'm going to add night crawlers and see if the bed will produce fishing bait for me.
The local waste dump grinds green and brown trimmings and offers it free. They will even drop it into your pickup bed. I've brought several yards of that home in the truck for mulch. However, it is a bit coarse for gardening. Occasionally, I'll have a ten yard load of mushroom compost brought in, but the pandemic has made even that stuff hard to get. I do need quite a bit of material to top off the garden every year. The level falls by about four inches yearly due to the light material breaking down. It's a continuous process. Add material, cover, plant, water when needed, pick the harvest that ripens from April through November, then clean it up and start over again.
We typically plant only the veggies that we eat a lot of on our own table. I learned a long time ago that it is hard to give away any excess, when the neighbors have their own gardens. We also start seed in December and grow leaf lettuce and tiny Wild Florida salad tomatoes in the greenhouse. It gets too hot in there for anything to survive after the temperature stays in the 90's outdoors. I have a dozen bato buckets on an automatic feeding system in the greenhouse and will try starting tomatos a month earlier this year. My attempts to date have ended in cooked plants just about when they were starting to produce well. The expense of running fans eliminates that option.
I'll probably start some plants in containers that I bought when back in Arizona. Those worked well on my second story deck. They are the type that have a water basin in the bottom, a flat deck over the water and a tube down from the top for watering. The downfall of those was that rain would cause them to overflow and drip down the deck which made a mess. I'll keep them on the ground this time.
We planted several trees when we bought this one acre property in 2016. We have enjoyed two nice crops from the red Navel Orange that came from the flea market in a five gallon bucket, but no fruit yet from the apples, pears and plums and peach that were barely more than 1/2" twigs from Lowes. We also planted a couple of pecan trees which are coming along well. I ran over our Guava bush when towing the bassboat with the lawn tractor. It's coming back slowly. Ailyn planted a mango seed and the tree grew to eight feet tall. It was hard to cover that height and a hard freeze wiped out everything above ground. It came back and made a two foot high bush this year. My avocado trees all succumbed to the same freeze. They are putting up shoots again, but they grow really slow here. It's really disheartening to watch plants grow for years only to die overnight. But, that is Florida.
We do our best to cover delicate plants when a temperature drop is forcast. Temperature swings between the teens and the 80's in the same day is extreme. The lesson learned is to plant what is tested and will grow where you are, not the imported stuff at the big box stores that has no chance of surviving even a single weather event. I've become someone that checks the zone tolerance label before buying outdoor plants.
Citrus trees seem to handle everything that the weather can throw at them here. I have many that are in stages between just sprouted seed and one producing a couple of dozen tasty fruit.